
Christmas Reversible Patchwork Pocket Placemats Tutorial
I cannot believe that I made these Christmas placemats back in June when we were still living in the townhome waiting for our new house to be finished! I made them for the super sweet and talented gals over at Fort Worth Fabric Studio for their Christmas in July series. I had wanted to make Christmas placemats ever since I started quilting and it would just get pushed to the side and then Christmas would come and go and then I would think, next year, for sure! HAHA!
I decided to wait until when Christmas was more on everyone's radar to repost again on my blog, so here it is! Enjoy!
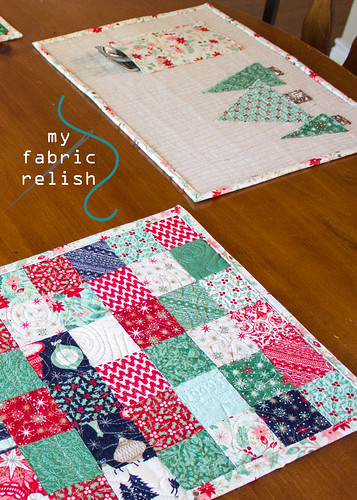
I designed these placemats for my 47" round kitchen table (which I since refinished because I was so embarrassed of it's condition after taking these pictures!) and made them a bit smaller than normal placemats that you get at the store. I find that the store bought placemats are too large for my table and I hated the way the corners would touch. These are just the perfect size for a plate, silverware, and a cup. If you want to test out what size you should make your placemats, I recommend getting copy paper (tape together) or the large sheet construction paper (that's what I used) to decide on a size and go from there.
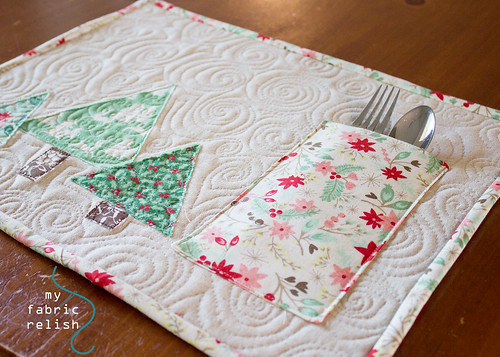
I just love these little pockets...it keeps those little hands from reaching up and stealing the silverware and use them as pirate swords (not naming any names....little relish).
You will need:
Thanks so much for checking out my placemats and if it's your first time visiting, be sure to follow me on bloglovin or sign up via email on the sidebar!
Melissa

I decided to wait until when Christmas was more on everyone's radar to repost again on my blog, so here it is! Enjoy!
I designed these placemats for my 47" round kitchen table (which I since refinished because I was so embarrassed of it's condition after taking these pictures!) and made them a bit smaller than normal placemats that you get at the store. I find that the store bought placemats are too large for my table and I hated the way the corners would touch. These are just the perfect size for a plate, silverware, and a cup. If you want to test out what size you should make your placemats, I recommend getting copy paper (tape together) or the large sheet construction paper (that's what I used) to decide on a size and go from there.
I just love these little pockets...it keeps those little hands from reaching up and stealing the silverware and use them as pirate swords (not naming any names....little relish).
You will need:
- (2) charm packs
- (1) yard of Moda linen
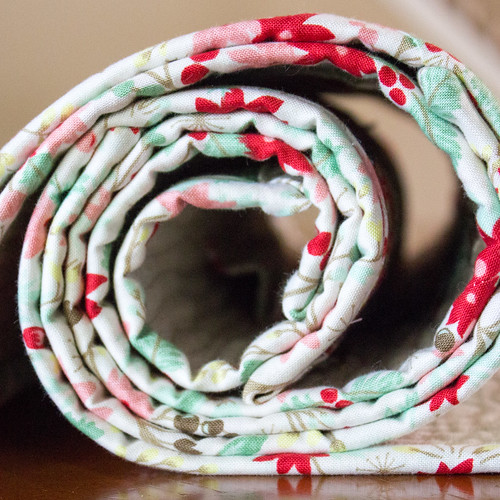
- (1) yard print for pocket and binding
- Brown scrap fabrics for tree trunks
- Scrap batting measuring approximately 14 x 18"
- Woven interfacing for appliqué (example: Shape-flex 101)
- Cut the linen fabric into rectangles approximately 14 x 18". These will be trimmed down to 12.5 x 16.5" once they have been quilted.
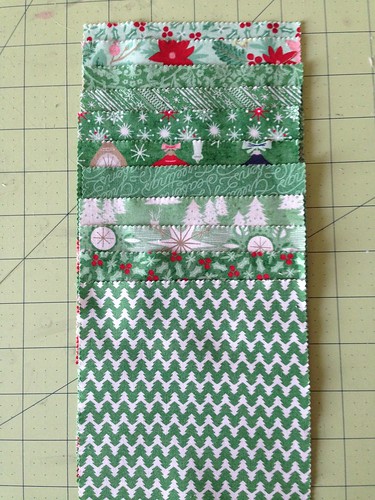
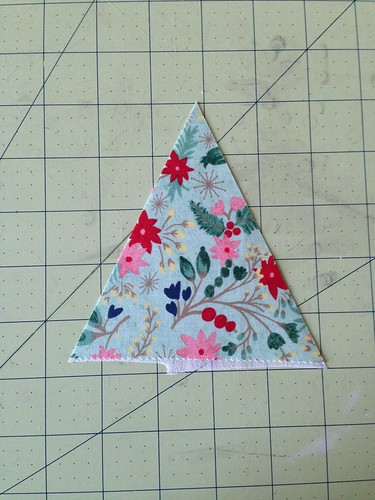
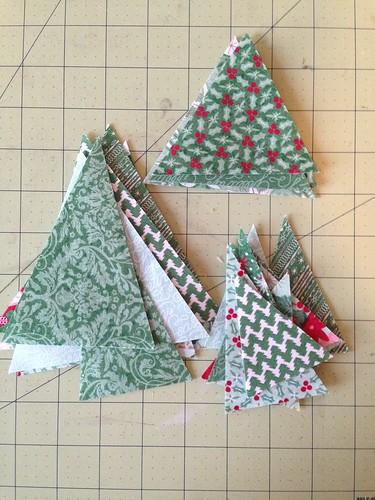
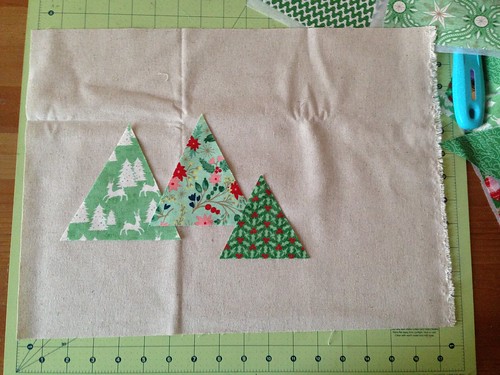
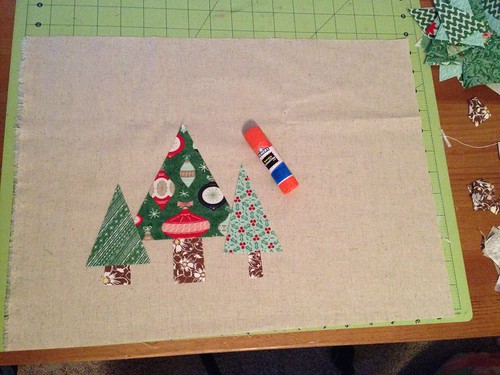
- Choose around 6-9 charms to use as trees. Fuse your interfacing to these charms and cut your triangles. I just made my trees into various sizes using the rotary and ruler. You will also need to fuse the interfacing to the brown scraps you will use for the tree trunks. These were also cut freehanded.
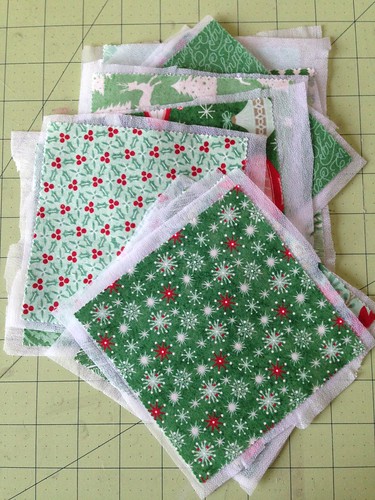

- For the patchwork back, cut (192) 2.5 inch squares. Since I used my charm pack, I picked out 48 and cut each into 4's.
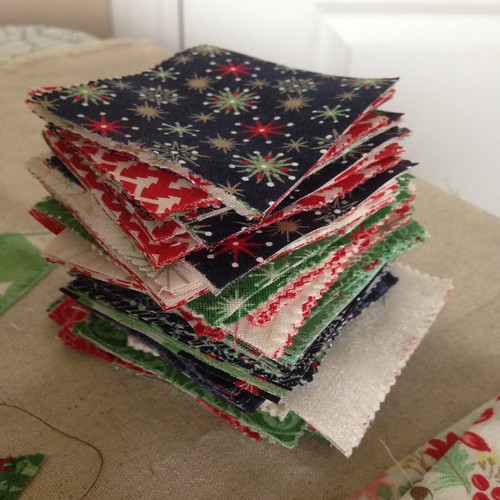
- Arrange the patchwork squares as you like in a 8 x 6 layout.

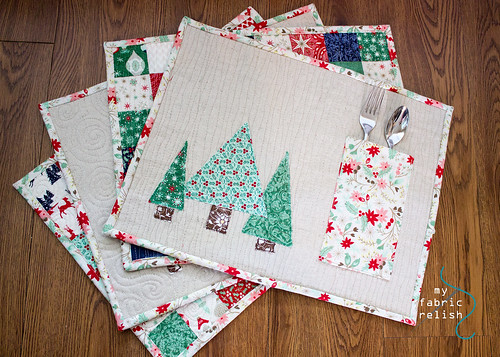
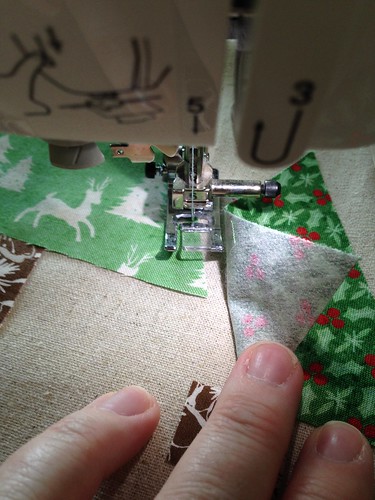
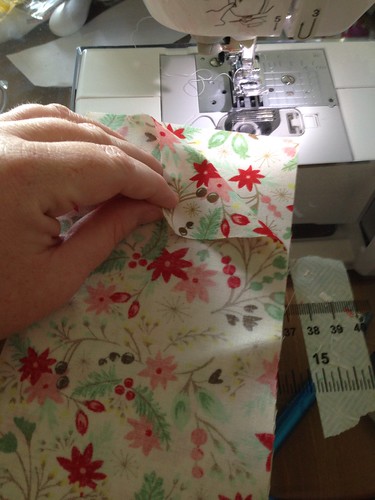
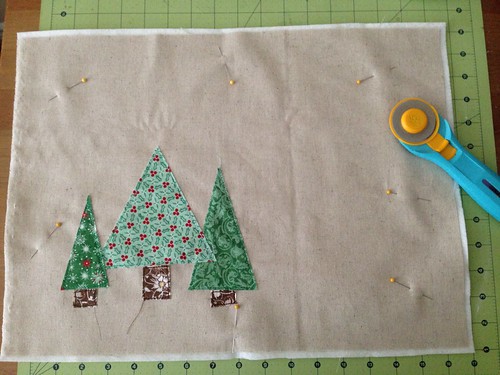
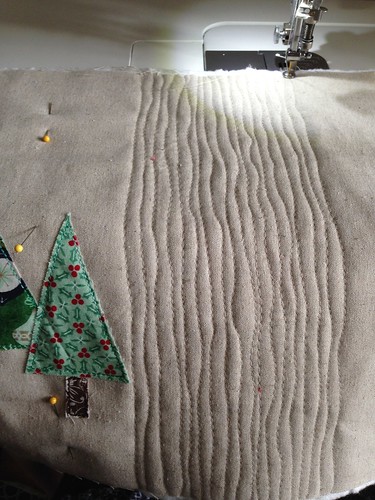
- Layout the trees and the trunks how you like on the linen side of your placemat. Remember that the linen piece was cut a bit larger than needed so dont get too close to the edge. I used a glue stick to keep my trees/trunks in place while I appliqued them. I decided to use a raw edge applique and used my triple stitch setting on my machine. I like the look of the thicker stitches.
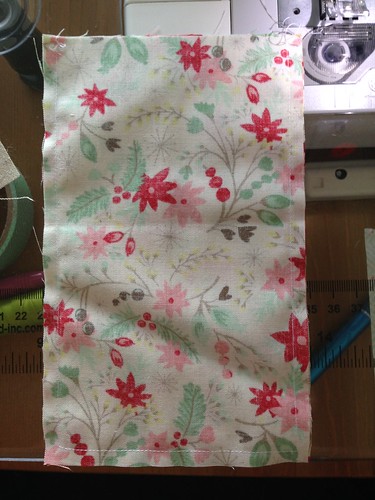
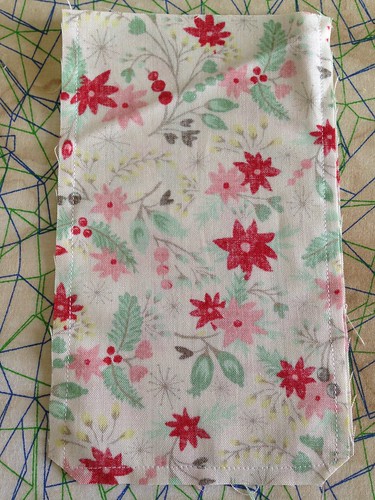
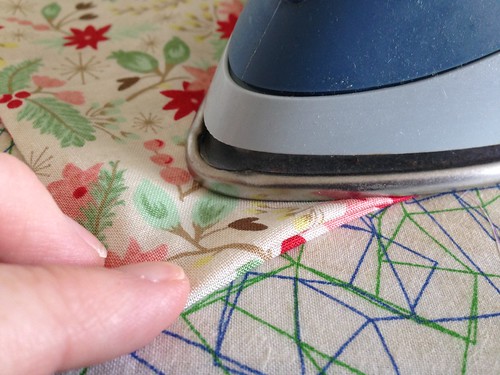
- To make the pockets, you will cut (8) 4.5 x 7.5 rectangles. Place two rectangles right sides together and sew around three of the sides leaving one short side open. Trim your corners, turn and press with the open side folded in. Make sure the folded side is on the bottom when you sew the pockets on later. Repeat 3 more times and set aside.
- Make the quilt sandwich using the tree/linen side as your back since it's larger. Quilt as desired!
- You will need (6) WOF (44 inch) strips for the binding. I cut mine at 2.5 inches but you can make yours thinner or wider if you like...totally your preference. Trim up the sides and add your binding using whatever binding technique that works for you :)
- Last step is to attach the pockets! You will place these on the right side about 2" from the bottom and 2" from the right side. Make sure the open side is on the bottom, so it will be stitched closed when you sew the entire pocket down. Edge-stitch the pocket onto the mat along the two long (right and left) sides and bottom leaving the top open. Tip: Use the same color thread on the bottom that you quilted with so it blends in with the quilting.
If you want to mix it up a bit, you can do ornaments instead or some other Christmassy silhouette. That's it! Enjoy!
Thanks so much for checking out my placemats and if it's your first time visiting, be sure to follow me on bloglovin or sign up via email on the sidebar!
Melissa


These are so cute- I love them! I'm wondering how you attached the utensil pocket and where you placed it on the place mat.Thanks so much for the tutorial!
ReplyDeleteThese are so fabulous and fun - great Christmas project. Thanks for sharing your tutorial!
ReplyDeleteI love these. Great fabrics too.
ReplyDeletethanks for sharing them again, i made a note back in july but own up to forgetting about them since!
ReplyDeleteLove these! Thank you for showing us how to make!! Grrrreat job!
ReplyDeleteThese are so cute! and I love this fabric line:)
ReplyDeleteExcellent tutorial, thank you! I know what the children are getting for Christmas!
ReplyDeleteGretta Hewson
Veritable San Antonio Movers website